
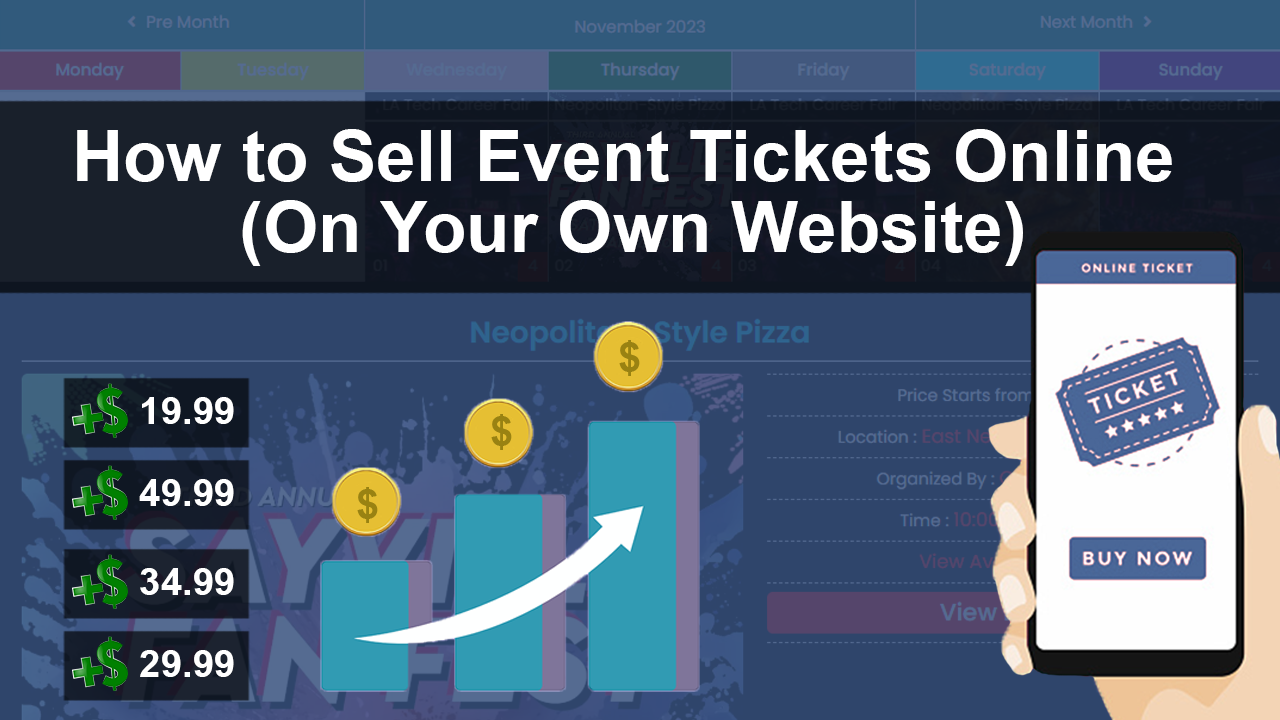
Selling Event Tickets on Your Own Website
Selling tickets on your own website lets visitors book without leaving your site. This article compares ticketing fees using figures collected in October 2023, then walks through setting up an event in Quick Elements.
Event Ticketing Platform Comparison Guide
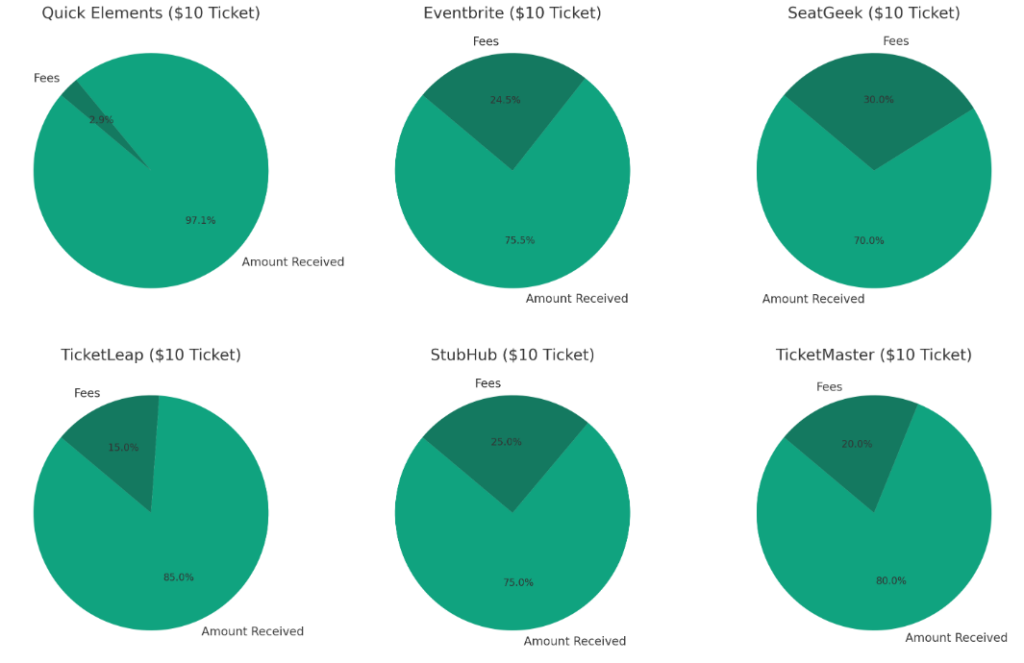
Third-party ticketing services charge different combinations of service and payment fees. Selling on your own site gives you a different cost structure, so compare the full cost for your ticket price and sales volume.
The figures below were collected on October 25, 2023. They are a historical comparison, not current quotes. Check each provider’s latest fees before choosing one.
| Ticketing Platform | Fees | $100 Ticket Sale After Fees | $20 Ticket Sale After Fees | $10 Ticket Sale After Fees |
|---|---|---|---|---|
| Quick Elements | 2.9% (credit card processing). + Plans start at $29 per month. | $97.10 | $19.42 | $9.71 |
| Eventbrite | 3.7% of the ticket price. + 2.9% (credit card processing). + $9.99per event or $29+ per month. + $1.79 per sold ticket. | $91.61 | $16.89 | $7.55 |
| SeatGeek | Buyer pays around a 10% fee. + Seller pays a 20% fee. | $70.00 | $14.00 | $7.00 |
| TicketLeap | 2% of the ticket price. + $1.00 per sold ticket. + 3% (credit card processing). | $94.00 | $18.00 | $8.50 |
| StubHub | Buyer pays around a 10% fee. + Seller pays around a 15% fee. | $75.00 | $15.00 | $7.50 |
| TicketMaster | Around 20% of the ticket price. | $80.00 | $16.00 | $8.00 |
What changes when you sell tickets on your site
1. Greater Control and Branding
On your own site, your event pages can use the same design and navigation as the rest of your business. Visitors can read the event details and continue to booking without switching sites.
2. Cost Savings
Fees affect what you keep from each sale. The table below shows one estimate for 1,000 tickets at $20 each, using the 2023 fees above. Your costs will depend on your plan and payment method.
| Event Ticketing Platform | Estimated Total Monthly Cost From 1000 x $20 Ticket Sales |
| Quick Elements | $638 in fees |
| Eventbrite | $3,139.00 in fees |
| SeatGeek | $6,000.00 in fees |
| TicketLeap | $2,000.00 in fees |
| StubHub | $5,000.00 in fees |
| TicketMaster | $4,000.00 in fees |
3. No Restrictions on Ticket Types
You can set up different ticket types for a workshop, performance, or other event, with prices that fit each one.
4. Data Ownership and Customer Relationships
Taking bookings on your own site keeps customer details in your account. You can use them to manage the event and, where people have agreed to receive it, send later updates.
5. A booking flow on your own site
Put the event details and booking form on the same site. Visitors can check the schedule, choose a ticket, and pay without looking for a separate listing.
6. Choose Your Own Payment Processor
| Payment Method | Quick Elements | Eventbrite | SeatGeek | TicketLeap | StubHub | TicketMaster |
|---|---|---|---|---|---|---|
| Credit Card | ✅ | ✅ | ✅ | ✅ | ✅ | ✅ |
| Debit Card | ✅ | ✅ | ✅ | ✅ | ✅ | ✅ |
| PayPal | ✅ | ✅ | ❌ | ❌ | ✅ | ❌ |
| Apple Pay | ✅ | ✅ | ❌ | ❌ | ✅ | ✅* |
| Google Pay | ✅ | ✅ | ❌ | ❌ | ✅ | ✅* |
| Bank Transfer | ✅ | ❌ | ❌ | ❌ | ❌ | ❌ |
| Check | ✅ | ❌ | ❌ | ✅ | ❌ | ❌ |
| Cash at Venue | ✅ | ❌ | ❌ | ✅ | ❌ | ❌ |
| Cryptocurrency | ✅ | ❌ | ❌ | ❌ | ❌ | ❌ |
| Book Now, Pay Later | ✅ | ✅ | ❌ | ❌ | ✅ | ✅ |
| Gift Card | ✅ | ✅** | ❌ | ❌ | ✅ | ✅ |
| Gift Card (Your Brand) | ✅ | ❌ | ❌ | ❌ | ❌ | ❌ |
**Has additional fees.
The payment options available to you depend on your setup. Check which methods your customers use, then confirm what your payment provider supports before publishing the checkout.
Set up ticket sales with Quick Elements
Quick Elements lets you make event pages, set ticket types and prices, and take bookings on your own site.
Start with one event and test the full booking flow before sharing the page.
How to set up ticket sales
- Create a Quick Elements Account:
- Visit the Quick Elements website and sign up for an account.
- Subscribe to Your Plan:
- Choose a suitable subscription plan that aligns with your event hosting needs.
- Pick a Domain Name:
- Decide on a unique domain name for your event website. Ensure it reflects the event’s identity and is easy for attendees to remember.
- Pick a Website Template:
- Explore Quick Elements’ website templates and choose one that suits your event’s theme and style. Customization options are available to align the template with your branding.
- Create a New Event:
- Go to your Quick Elements dashboard and create a new event. Input the event’s title, description, and other essential details.
- Set the Pricing:
- Define your ticket pricing structure. Specify the different ticket types, such as early bird, regular, or VIP, and set the pricing for each. Include discounts, package deals, or exclusive perks as needed.
- Date and Time:
- Set the event’s date and time, including the start and end times for various segments or sessions. If it’s a multi-day event, specify the schedule for each day. If it’s a repeated/recurring event, set it here.
- Email Text: (optional)
- Customize the email template for ticket purchase confirmation emails. Personalize these emails with your branding and essential event details.
- F.A.Q: (optional)
- Develop a Frequently Asked Questions (FAQ) section that anticipates common inquiries attendees might have. Address questions related to the event, registration, cancellation policies, and other relevant topics.
Other tools for event organizers
Building Your Event Site
Use the website builder to add an event page with the date, location, ticket types, and the information attendees need before they buy.
Integrated Calendars
Add an events calendar so visitors can browse upcoming dates and open each event page.
Newsletters
Use a newsletter to share event updates with people who have signed up for them. You can also send practical information, such as changes to the schedule or venue.
Professional Email
Send confirmations and event updates from an address on your own domain, such as tickets@your-domain.com.
Search Engine Optimization
Give each event page a clear title, date, location, and description. You can edit its search title and description before publishing.
Automation
Automations can send confirmations and reminders after a booking. Check the messages and timing before the first ticket goes on sale.